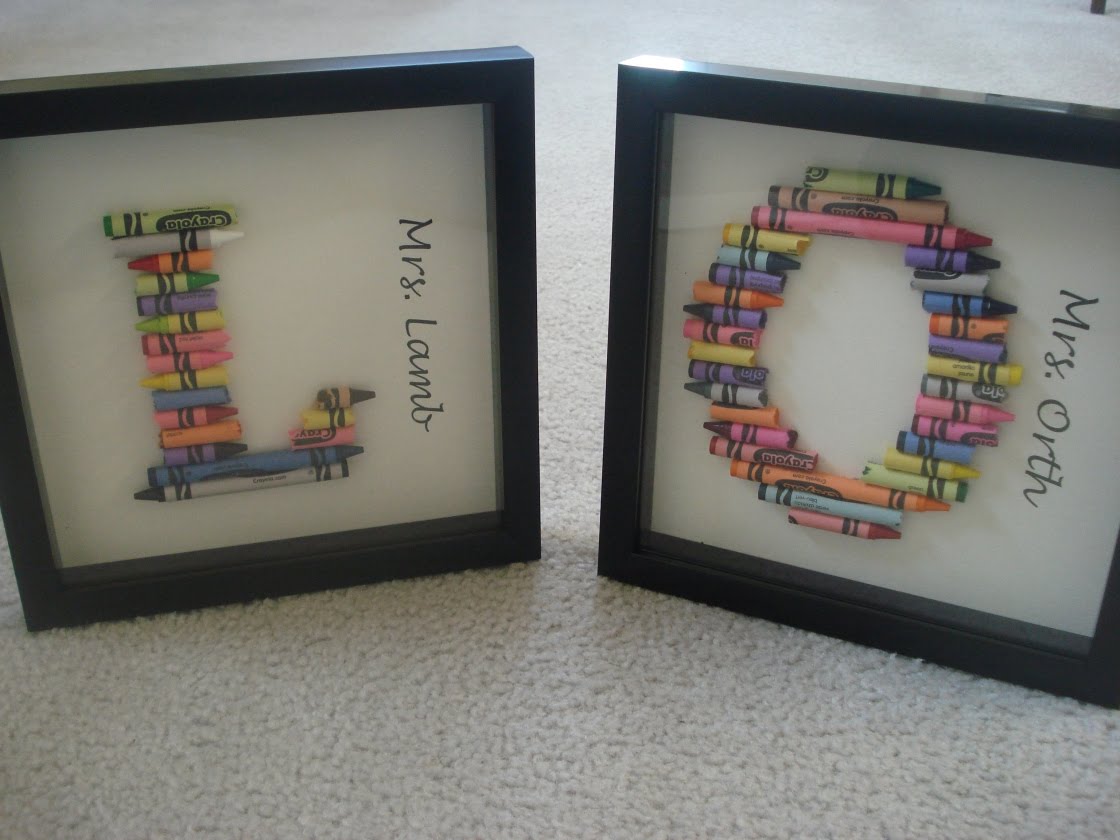
Sometimes you just need to add a little fun to your life and when I saw these precious monograms at Dollar Crafts, I knew they were just what I needed for my playroom.
Granted, I had no need for my initials up all over the walls of my playroom, but I could switch it up and use the word "PLAY." I started by printing out a favorite font in an outline version as large as I could go on one regular sheet of paper.

Once I had those printed, I scrounged around at work and gathered as many shades of blue and green crayons I could find, not caring about the brands, just the colors of the paper wrappers and crayons.

Then, I roughly measured the crayon on the outlined letter. Using a sharp knife, roll the crayon back and forth using light pressure until the crayon snaps. (I just noticed that I did a section with no paper. Oops. I used the wrapper sections because I knew the glue would adhere better to the paper than the wax.)

Line up all of the pieces of the crayon on the outlined letter, making sure to dry fit everything.

Sorry for the pic quality here, it was slightly late when took these. Once the entire letter was filled, I transferred it piece by piece to a blank sheet using my very technical TV remote to position my letter.
I made sure to get glue behind the crayon and also on the sides where it touches another crayon. Because I framed these without glass, I wanted them to be secure on the wall and not fall on anyone's head. (It's raining crayons, halleluiah, It's raining crayons!?!)
Once that was done and the crayons were completely dry, I trimmed the paper to fit in a standard 8x10 frame that I scored at Micheal's for 60% off plus an additional 25% coupon! Thankfully they were already white so I could skip the spray paint step.

I did put a couple of glue dots in the top corners to hold the paper up in the frame in case it wanted to slide down and/or out.

I did put a couple of glue dots in the top corners to hold the paper up in the frame in case it wanted to slide down and/or out.
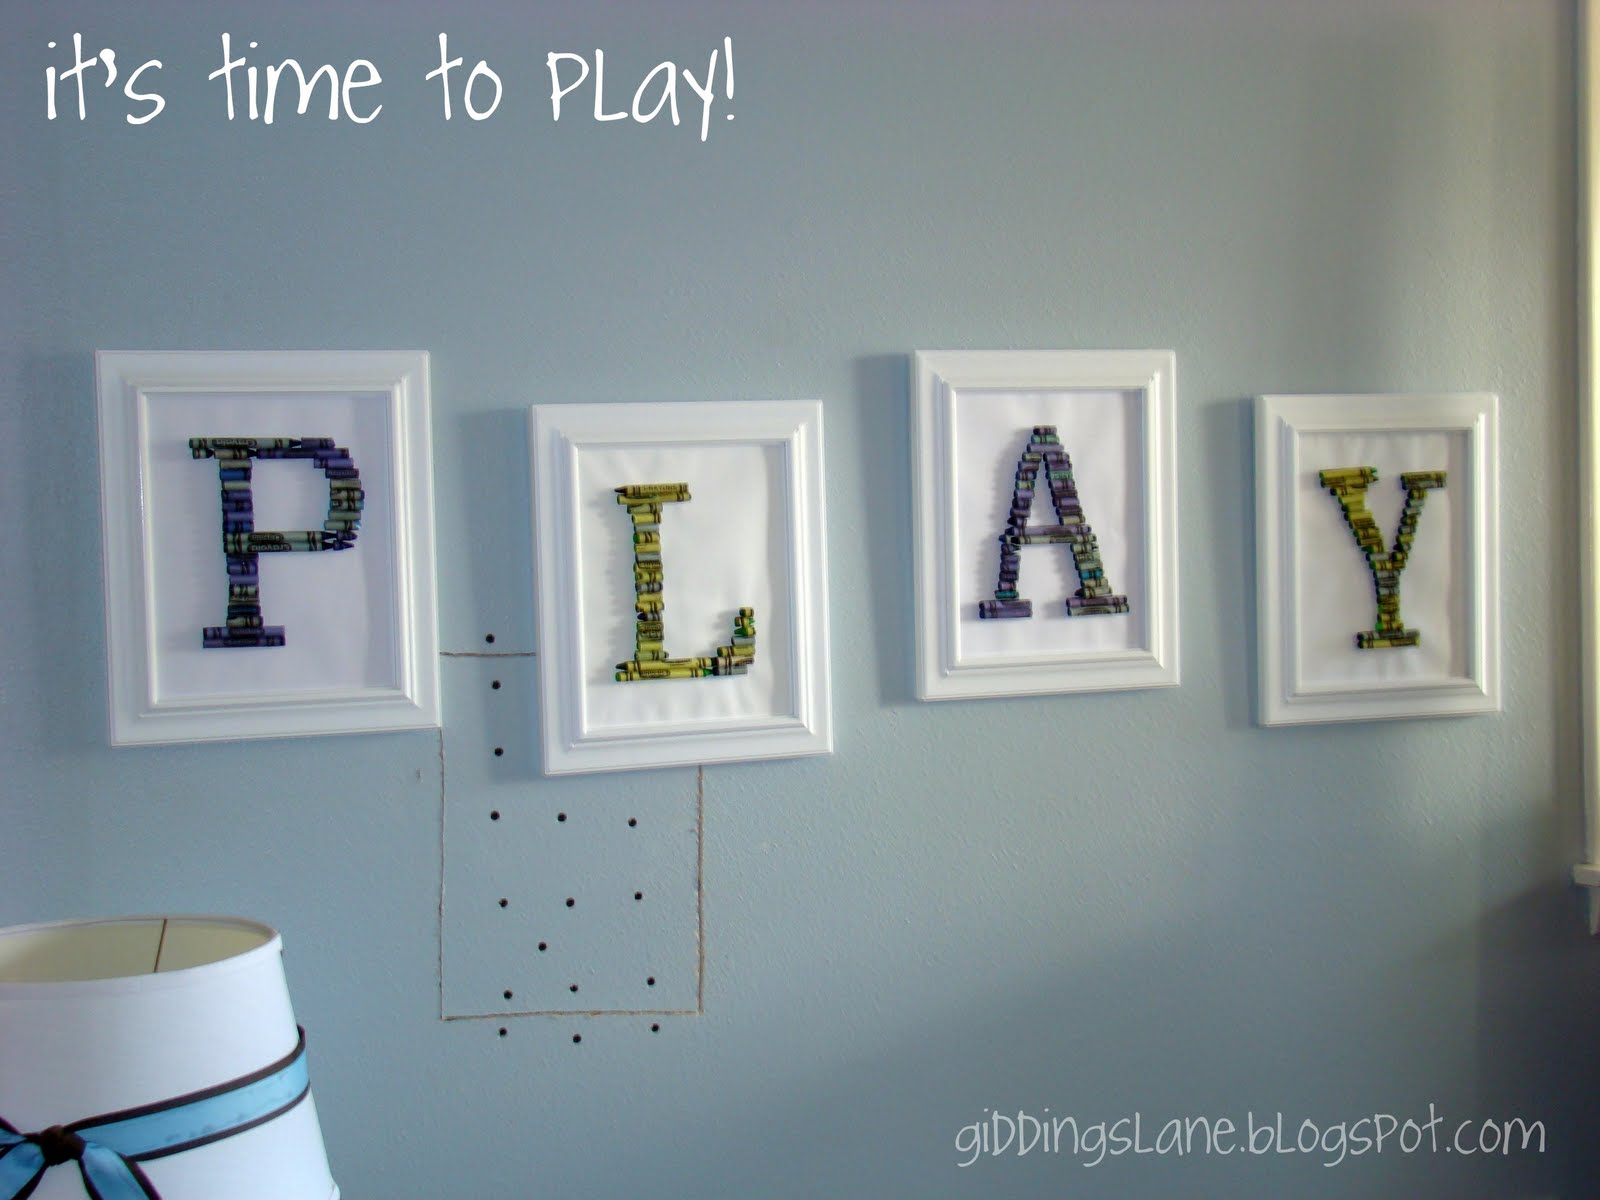
I think it looks pretty cute and could easily be altered to other crayon colors, dowel rod pieces or anything else long and narrow. Oh, there is the matter of that small mess behind the PLAY, but that's another blog for another day.


REALLY CUTE!!!
ReplyDeleteSuper cute! I'm pinning this to Pinterest Thanks for the great tutorial!
ReplyDeleteThese turned out great! I love the idea of doing an entire word display with them. Thanks for linking up with Lemon Tree Creations today!
ReplyDeleteThis turned out great! The word "PLAY" is a great choice! Thanks for your good instructions and the reality of your pics ;) Hope you have a great weekend!
ReplyDeleteNew follower here....This is so cool!! I'm pinning it! Thanks for sharing!
ReplyDeleteGreat idea! I'm thinking tag board may be what I need instead of paper. Turned out super cute!
ReplyDelete