At my last garage sale, my SIL brought over her beloved rocking chair from her aunt. Because of a combination of the "fabulous" (sorry Aunt Jackie) look of the chair and the fact that my nephew is perfecting his mountain climbing skills, my SIL felt that she had to sell the chair. I knew she loved it, so I told my bother to put it back inside. I knew that with a little love and sweat, the chair could be beautiful. (Unfortunately I couldn't and still can't do a thing about Zach's climbing ability.) Did I mention the look of the chair was straight out of the 60's?
Isn't it pretty? Yeah, not really in the vein of my SIL's house. (Again, sorry, Jackie. It does have great bones though!!) In case you're missing part of the glory, check this out.
Yup, it featured every great color that WAS in my house before its transformation. Scary. Anyway, it plunked itself in my living room and sat there for almost six months before I got around to transforming it. Hey, I said I'd do it, I didn't ever say it would be fast! ;)
I typically am a big fan of the Behr Ultra paint. So much of a fan in fact, that I know Guy and Suzanne on a first name basis at local Home Depot. I love the low-ish odor, easy clean-up and so far great wearing paint, but I didn't think it was right for this project. Okay, so maybe part of it was I didn't think it was right and part of it was the fact that I was desperate to jump on the chalk paint bandwagon.
In case you have missed all of the blog buzz about
Annie Sloan Chalk Paint, I'll give you the short version. Chalk Paint is an all natural paint with NO, yup, no odor which dries to a super matte finish. It requires no sanding, striping, priming or other prep work. If you've ever tried to sand anything, you will understand my immediate interest in chalk paint. Add to that it's an English product that allows the under thing, whether wood, metal, glass, brick, cinder block, whatever to breathe and I was hooked. And after a little research, I found the price. Ouch. It's not cheap stuff folks. At almost $40 a quart, this cheapie was a little shell-shocked. It didn't take me long to convince myself that the paint was worth the original cost, but not shipping. (I really HATE to pay shipping on anything! Yes, I'll spend twice as much on gas, but I digress.)
So, after checking the
state side suppliers, I found one in little ole Waco, TX. Imagine! It's one of 3, yes 3 in the entire state. I did some sweet talking of my mom and Mimi and they graciously picked up a quarts of Old White and Paris Grey for me. It is a probably a good thing that I didn't go because I'm sure I would have come home with way more than two
colors. (Scroll down on the link to see the best representation of all the available colors I could find.)
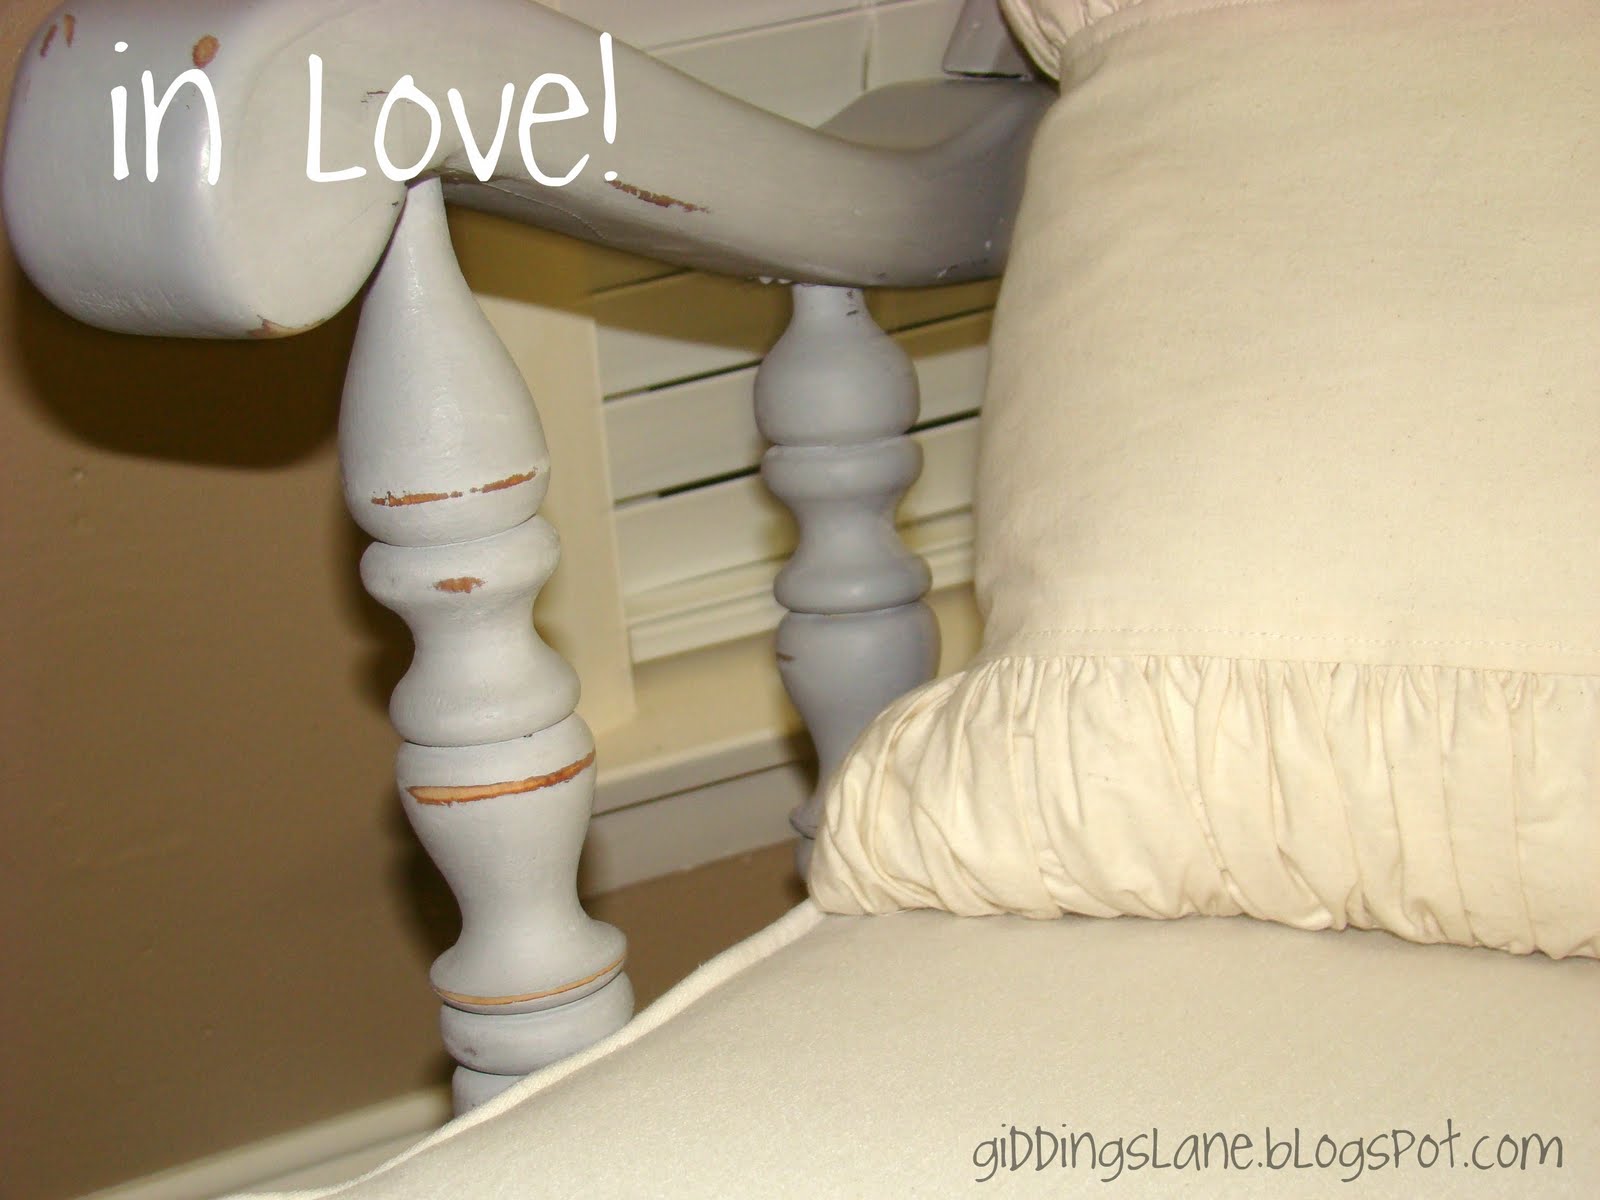
My mom decided she would use the Old White to redo the daybed in her "kids' room." Because I had no idea how far this paint would go, regardless of what is online, I went with the Paris Grey for the rocker. In true Sissi fashion, which I could blame on the 3 digit heat, but since I do the same in winter I can't, I plunked the rocker down in the middle of my living room on some leftover plastic dropcloth. In one evening, I was able to double, yes double coat the entire rocker, complete with flipping it different directions for total coverage and wax the whole piece. When the paint first dries, it is very, very matte with somewhat obvious brush strokes.

Since I get brush strokes on every stinking thing I paint, this doesn't surprise me in the least bit. I'd blame it more on the painter here than the paint. But, anywho, the paint covered the finish nicely and and worked great. After the paint was dry, I put a coat of Johnson's wax on it and buffed it to a shine. I also used 220 grit sandpaper to knock down the brushstrokes and add a little wear and tear to the piece. My goal was to make it look like it came out of a French farmhouse.


While the chair was only an evening's worth of work, the cushions were a different story. I went with the same neutral fabric that is elsewhere in my house. Thankfully I was able to squeeze all the pieces out of scraps left over from Elphaba and slipcovers. I made easy to clean covers that zip on and off since I know better than to think they'd stay clean for long. For picture purposes, I grabbed my
ruffle pillow and it fit perfectly. Since it's currently destined for Zach's room, the ruffles aren't a permanent thing, but I'm on the lookout for a train pillow.
In case you need a refresher...
Not too shabby I'd say!
(All opinions are completely mine and I haven't been paid for them!)