CLICK HERE FOR FREE BLOGGER TEMPLATES, LINK BUTTONS AND MORE! »
Showing posts with label guest room. Show all posts

Friday, July 8, 2011

Uh-Oh...

I've discovered something about electricians.  The better they are at their job, the worse they are at keeping a room/house clean.  If you recall my previous post, there was a slight hole left after George finished his work.  He needed to access the electrical box from the inside of the house, so out came a smallish square of drywall.  (what I love is my blogging program doesn't even balk at smallish as a word anymore...)  


Apparently George already had the screws and felt a need to use each and every one of them!!  There are count 'em, 22 screws holding up the slightly larger than 8x10 piece of drywall.  The floor, baseboards and nearby furniture was full of drywall dust and pieces.  Yucky stuff.  After a couple of vacuums and several scrubbings, (why can't that stuff come up the first time??,) room is starting to look more like normal.  There still was the matter of the screws though.

Out came the large bucket of drywall compound, tape and floats.  Within a quick afternoon, the entire hole was covered.  Then, with a quick swipe of orange peel in a can, not kidding here, the entire hole was fixed. 


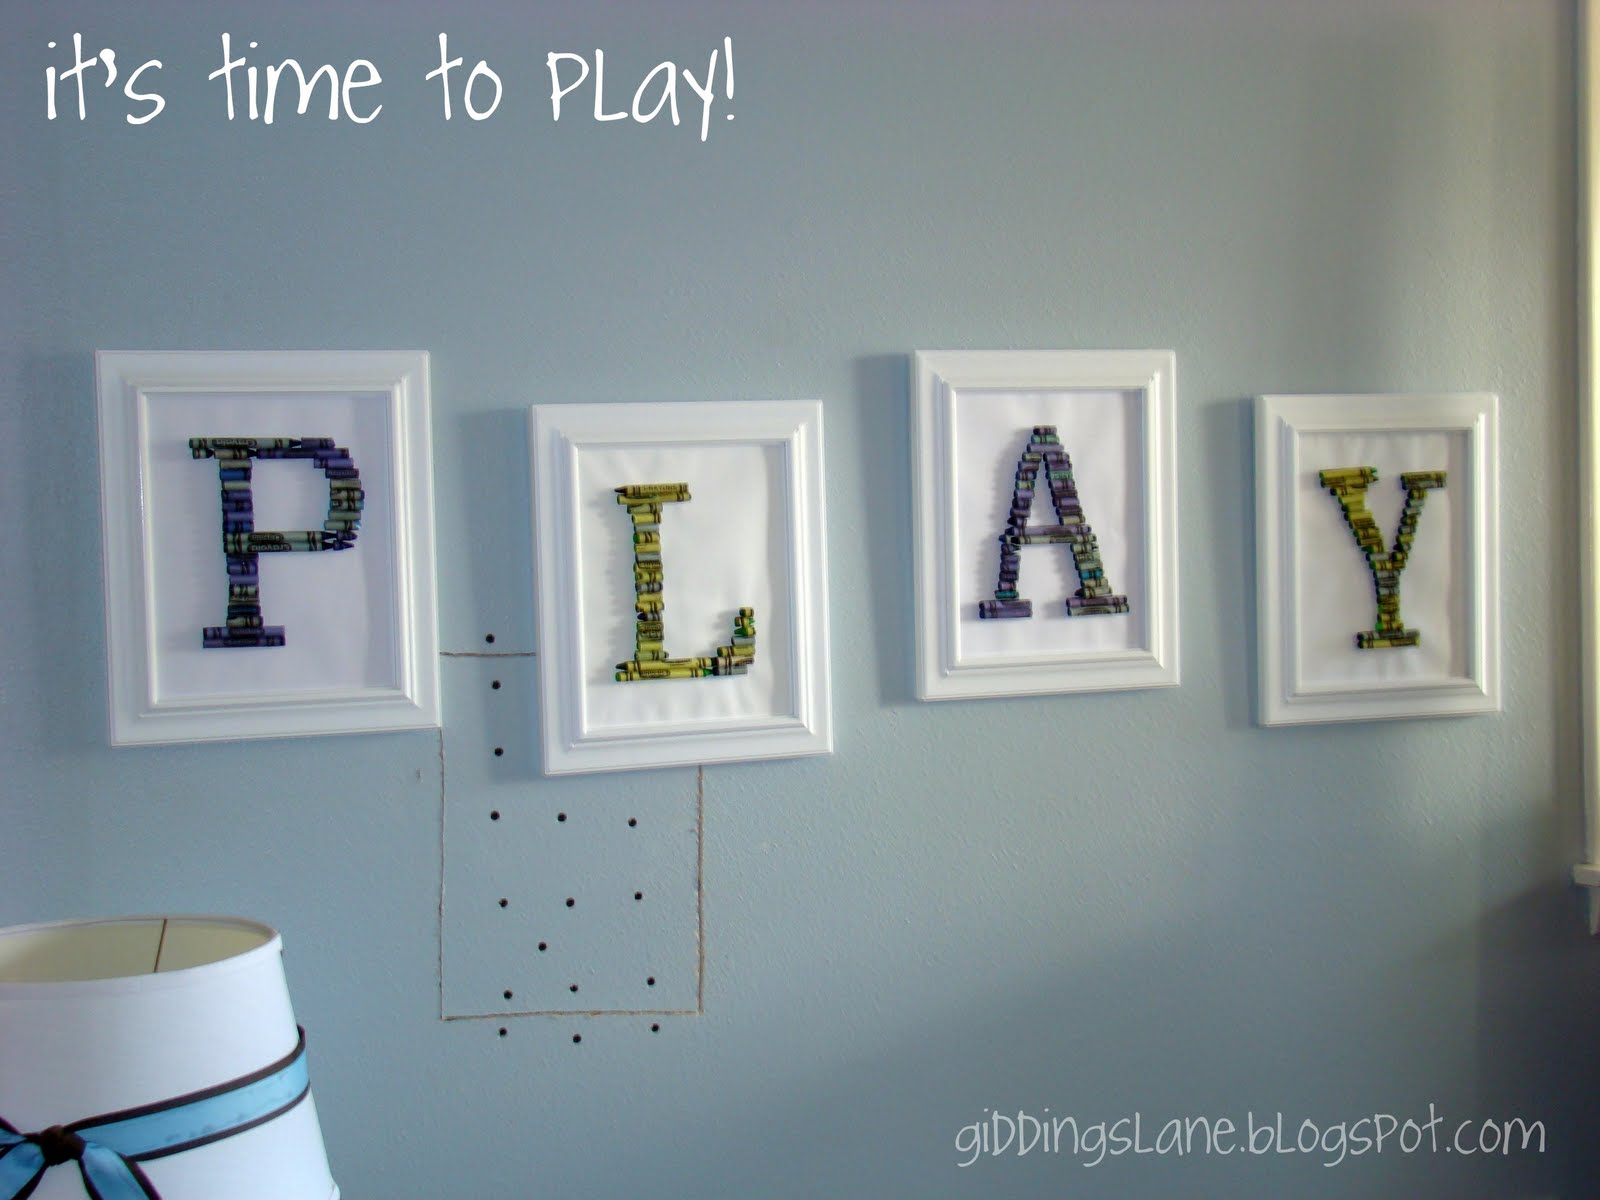
While it was indeed patched, it wasn't exactly un-noticeable if you know what I'm talking about.  So, I dug out the paint from the walls and did a double coat paint job.  After a short dry time, I re-hung the PLAY and now it's impossible to find the hole.


I must say that I'm pretty happy with the results and thrilled to once again have a "finished" (I use the term loosely) guestroom.

Wednesday, June 29, 2011

P.L.A.Y.

Sometimes you just need to add a little fun to your life and when I saw these precious monograms at Dollar Crafts, I knew they were just what I needed for my playroom.


Granted, I had no need for my initials up all over the walls of my playroom, but I could switch it up and use the word "PLAY."  I started by printing out a favorite font in an outline version as large as I could go on one regular sheet of paper.


Once I had those printed, I scrounged around at work and gathered as many shades of blue and green crayons I could find, not caring about the brands, just the colors of the paper wrappers and crayons.


Then, I roughly measured the crayon on the outlined letter.  Using a sharp knife, roll the crayon back and forth using light pressure until the crayon snaps. (I just noticed that I did a section with no paper.  Oops.  I used the wrapper sections because I knew the glue would adhere better to the paper than the wax.)


Line up all of the pieces of the crayon on the outlined letter, making sure to dry fit everything. 


Sorry for the pic quality here, it was slightly late when took these.  Once the entire letter was filled, I transferred it piece by piece to a blank sheet using my very technical TV remote to position my letter.


I made sure to get glue behind the crayon and also on the sides where it touches another crayon.  Because I framed these without glass, I wanted them to be secure on the wall and not fall on anyone's head.  (It's raining crayons, halleluiah, It's raining crayons!?!)

Once that was done and the crayons were completely dry, I trimmed the paper to fit in a standard 8x10 frame that I scored at Micheal's for 60% off plus an additional 25% coupon!  Thankfully they were already white so I could skip the spray paint step. 


I did put a couple of glue dots in the top corners to hold the paper up in the frame in case it wanted to slide down and/or out. 


I think it looks pretty cute and could easily be altered to other crayon colors, dowel rod pieces or anything else long and narrow.  Oh, there is the matter of that small mess behind the PLAY, but that's another blog for another day.


NightOwlCrafting


Thursday, August 12, 2010

One Year Ago

After one year I've managed to make a large dent in the house, but still not a big enough one. If I had a limitless budget, time and energy, the house would be finished. In trying to think positively, I using the time to research and shop for the perfect _________. (Feel free to fill in the blank with basically anything involving a house! Knob, appliance, flooring, insulation, window, plant, etc.) Enjoy the following before and current pics. I know it's not all of the rooms, but it's several and I'm working on posting the rest of the house.

Here is the scary original laundry room. To the left of the washing machine is the dryer and behind that was the insanely scary corner. When I first went to clean it out, I raked out several skeletons, yes, skeletons and it was at that point that I cried and seriously wondered what I had done. Thankfully now the laundry room looks like this. With fresh drywall, paint and baseboards, the entire room now has a clean feeling, no pun intended. The newest feature is a sink. It's a great help and I can't wait to use it for only laundry!


Ugh, the F.I.L.T.H.Y. kitchen. It was a tiny mess and that made me want to scrub in bleach after being in it. With some extreme banging by the boys, the kitchen was demolished and currently looks like this. Not really conducive to much more than cereal and spaghetti, which is fine because spaghetti is my ALL TIME fave. It also works really well to store tools.

The great news is that in 10 short years, my kitchen will look more like this than that! I cannot wait. I really want to be able to use this room for cooking and eating only, not also painting, staining, stripping (not the pole kind,) and storage!


I have no idea what the previous owners were into, but it is quite possible that it was illegal. Multiple lighters, bobby pins and alcohol wipes. Anyway, now ALL of the urine stains, illegal/legal items and pretty much any trace of male are GONE! Now my bathroom with a new potty (one thing I wasn't budging on!) is blissfully clean and really cute!


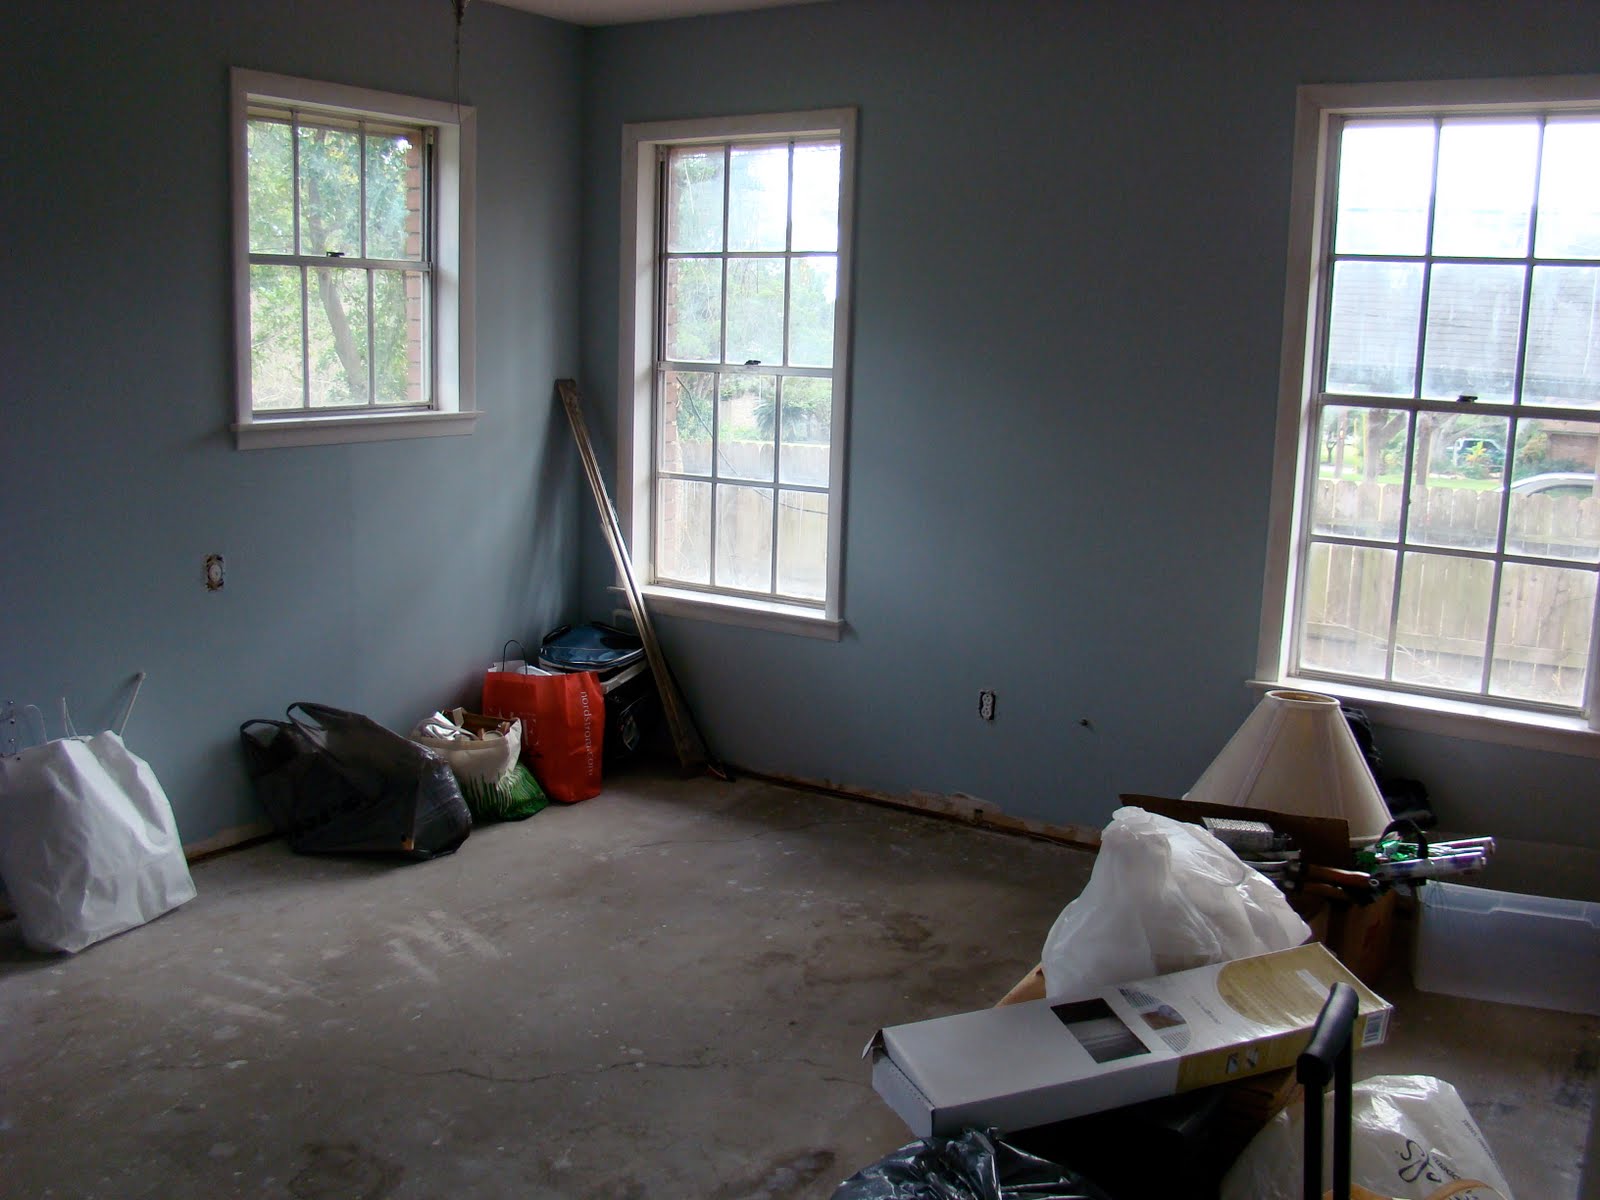
I discovered when getting ready for this, I had not a single picture of the room before I attacked it removing the NASTY carpet and scarred walls. So, enjoy this shot with no painted trim and bare walls hosting the garage sale stuff! Now it's a great room for launching airplanes, playing dollies and dress-up, and grabbing a nap from time-to-time. (Check out the fabu window treatments!) Marc & Sara often crash here during the day after working all night and the cardboard blocks 95% of the light. I have yet to fuss since the windows are old and the cardboard helps to insulate it more...


Enjoy these and keep an eye out for the next post.

Saturday, August 22, 2009

Wow!

I am beyond impressed with the new drywall guys. They have really busted tail today and fixed EVERY crack, chip, and hole in the entire house, barring the kitchen. They have re-drywalled the ceilings in the master, guest and green bathroom, taped & floated them and textured the living room, office, and hallway ceiling, all today. Wow! My house is starting to have an obvious change in it. With this huge change, I'm hoping that we can start painting soon, much to Marshall's delight! I know it's only been a week, but there has been no change that has been "pretty." Yes, I took out the nasty carpet and scrubbed the walls, but nothing that made me happy to see it. (other than the house itself.) It's going to be awesome!